Recipes
Instant Pot Lectin Free Beans
I purchased an Instant Pot early last year after hearing all sorts of rave about it. I love cooking, and before I had kids I would spend a lot of time in the kitchen, playing around with herb & spice combos, and experimenting with new recipes.
After kids, ain’t nobody got time for that.
Just kidding. We do have time. You have to make the time. Actually, when really reflecting on the time it takes to get everyone ready to go out to eat, get to the restaurant, order, and come home; cooking at home almost always trumps the restaurant as far as time goes. Plus, it is healthier to cook at home.
A lot healthier.
An Investment In Your Health
Any apparatus that makes cooking easier, faster, or healthier is an great investment. I was not sure if the Instant Pot was just another gimmick. After all, pressure cookers are not “new”. Pressure cookers date way back to the 1600’s. Our parents used them, their parents used them. However, nowadays with our advanced technology, you can be rest assured the pressure cooker won’t blow up in your face. If safety concerns are preventing you from purchasing a pressure cooker, I hope I can put that to rest for you. It will not burn your face off.
As long as you follow directions.
Learn Your Apparatus
If you are new to the pressure cooker world, please do yourself a huge favor and read every instruction in the manual. The Instant Pot seems really overwhelming upon first glance, however after watching YouTube tutorials and reading the directions I was able to master it, so I know you can too. I have heard people say they purchased an Instant Pot but never use it. Mostly, this is because they never took the time to learn how to use it.
The Instant Pot is not a “be all end all” kitchen apparatus that you will use for everything. I still love my slow cooker, my cast iron cookware, and my oven. However, some things are PERFECT when made in the Instant Pot.
Such as beans.
Lectins and High Pressure Cooking
My favorite thing to make in my Instant Pot is beans. High pressure cooking destroys the lectins that naturally occur in beans. Lectins are proteins found in some plant foods which help the plant defend itself against its enemies.
Often referred to as “anti-nutrients”, lectins can wreak havoc on our the lining of our gut tissues by binding to carbohydrates and interrupting important messages between cells. In turn the messages are not “delivered” appropriately. Over time this can cause the cellular barrier in the gut to become permeable, which allows molecules of food and toxins to pass through when they should not pass through. While lectins are harmful for consumption for this reason, they cannot solely be the blame for intestinal permeability. There are MANY other ways this harmful process occurs including (but not limited to): Other trigger foods, toxic environmental chemicals, improper sleep, lack of self-care, chronic disease, and unhealthy fitness levels.
You do not need to “shun” lectin containing foods. Once you are aware of the problem, you can fix it by cooking the foods appropriately to “disengage” the lectins. Beans, for example, are legumes that contain many beneficial amino acids as well as fiber. You can destroy the lectins in the beans by cooking them appropriately.
Meal Prep for Months
I tend to pick a weekend day to meal prep all my legumes (beans) at once. I stop by my favorite store in the world, Whole Foods, and grab a pound or two of the following:
- Organic garbanzos
- Organic black beans
- Organic fava beans
- Organic Pinto beans, and
- Organic cannellini beans
Next I bring the beans home to meal prep using the process I am about the share with you.
The whole process start to finish takes about 4-5 hours.
In the end I spend very little actual time cooking the beans, it is more of a “fix it and forget it” method.
In the end – I have about 20-25 courses of beans prepped and stocked in my freezer!
It’s awesome.
Let’s Get To It!
First, pick which beans you will cook. Rinse your beans well in a colander.
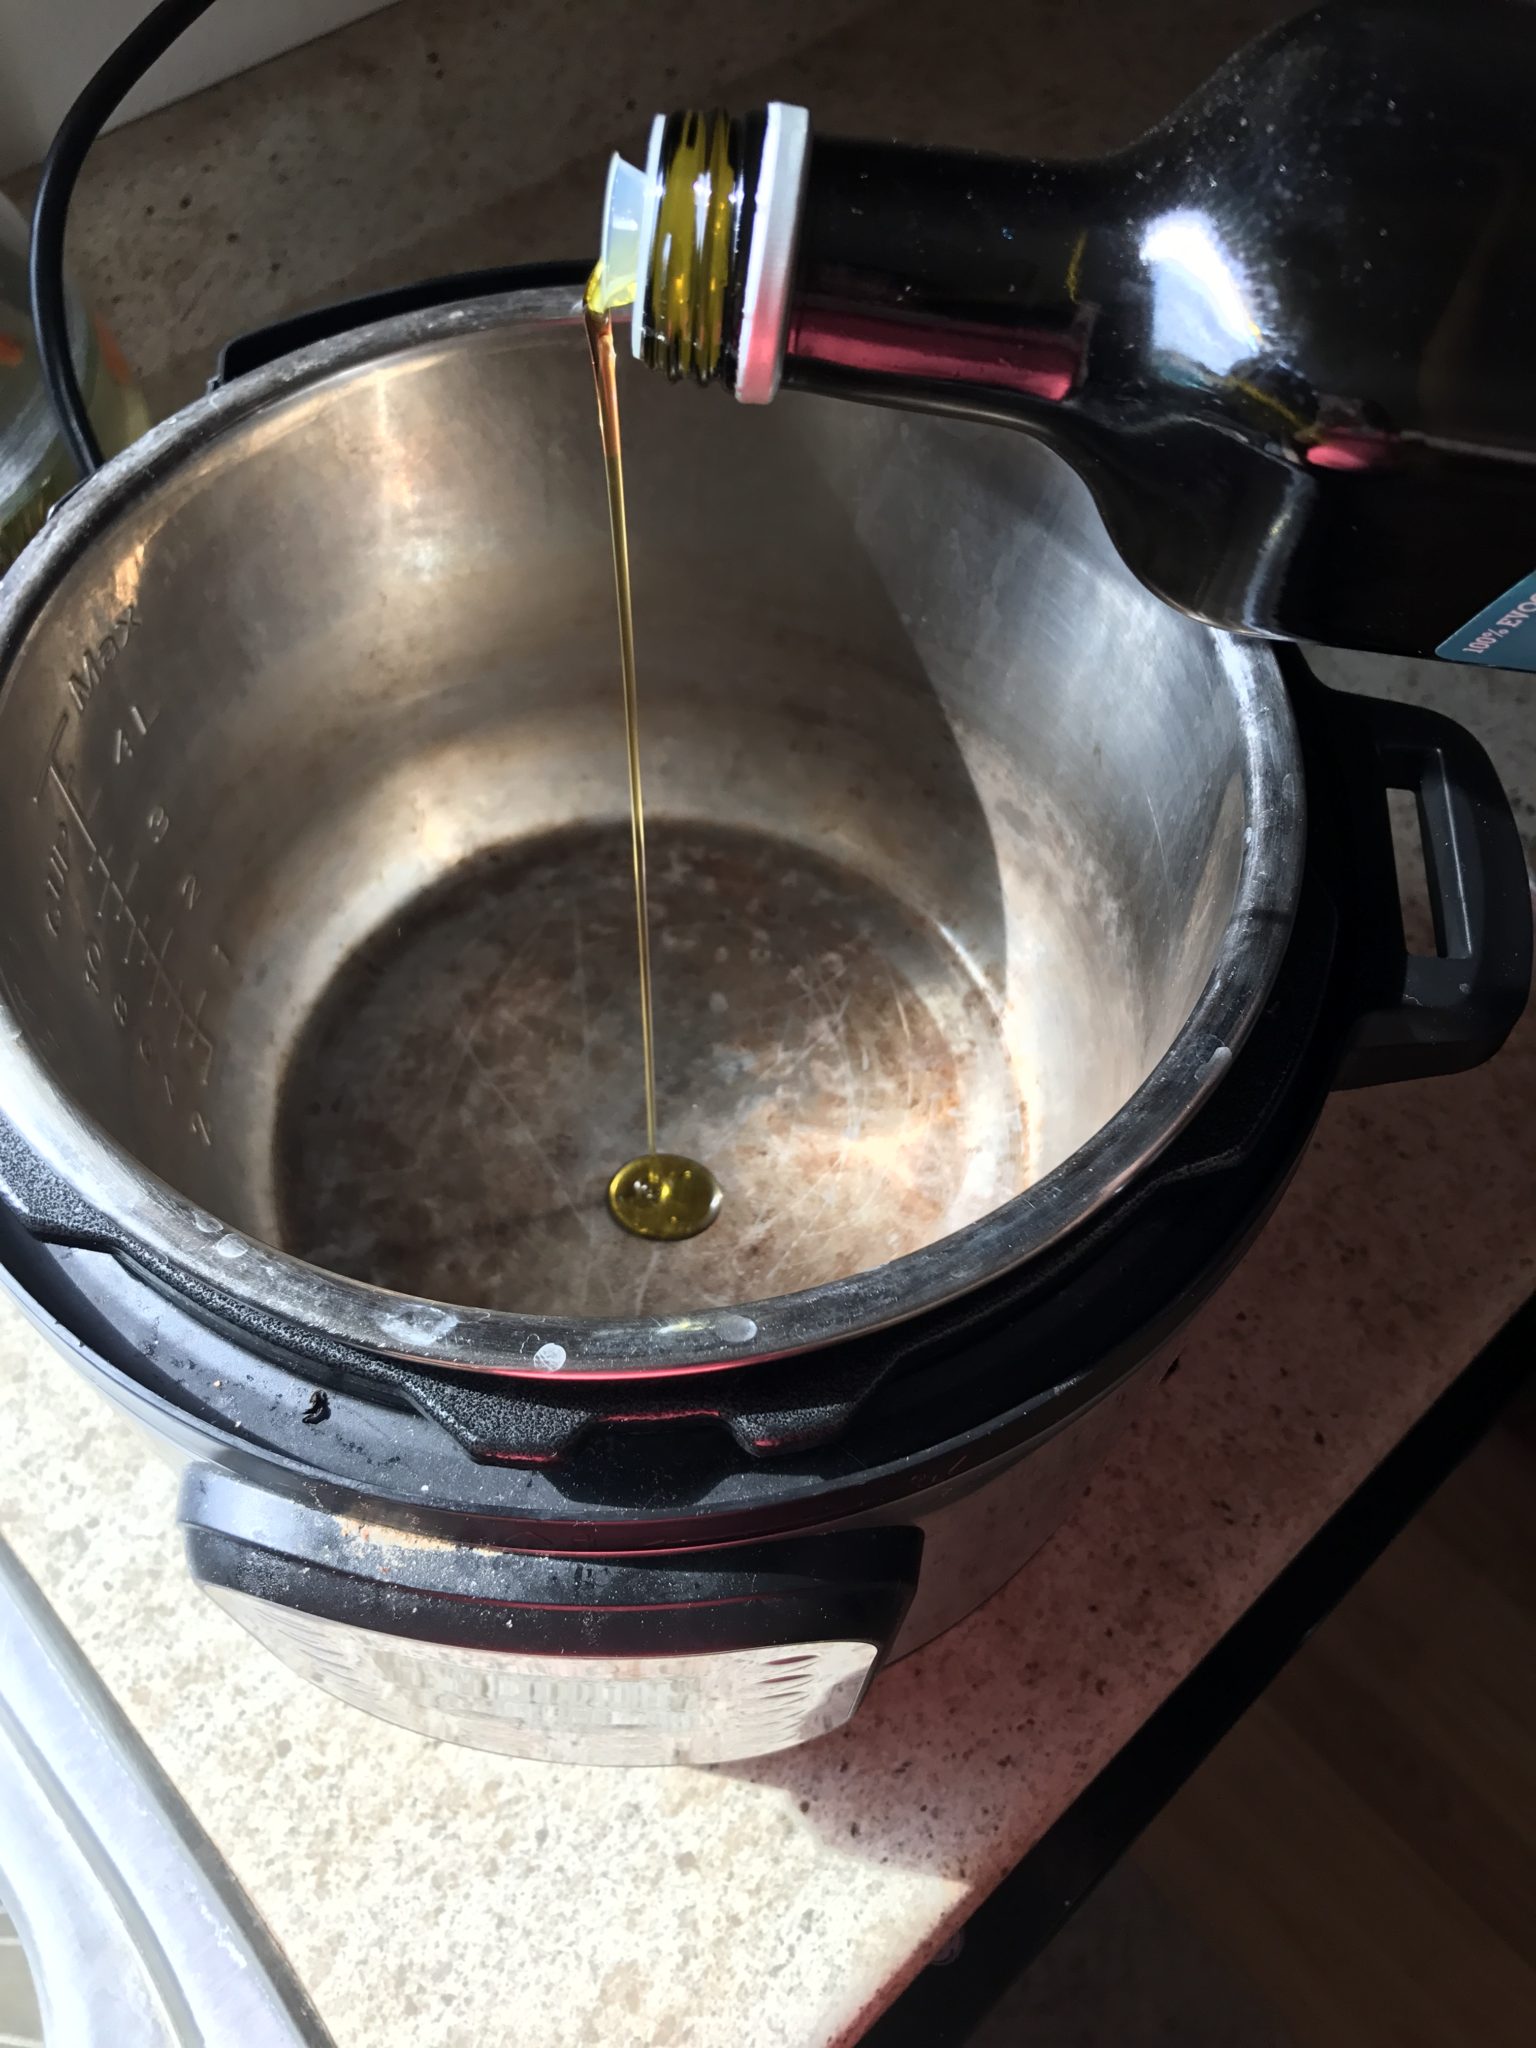
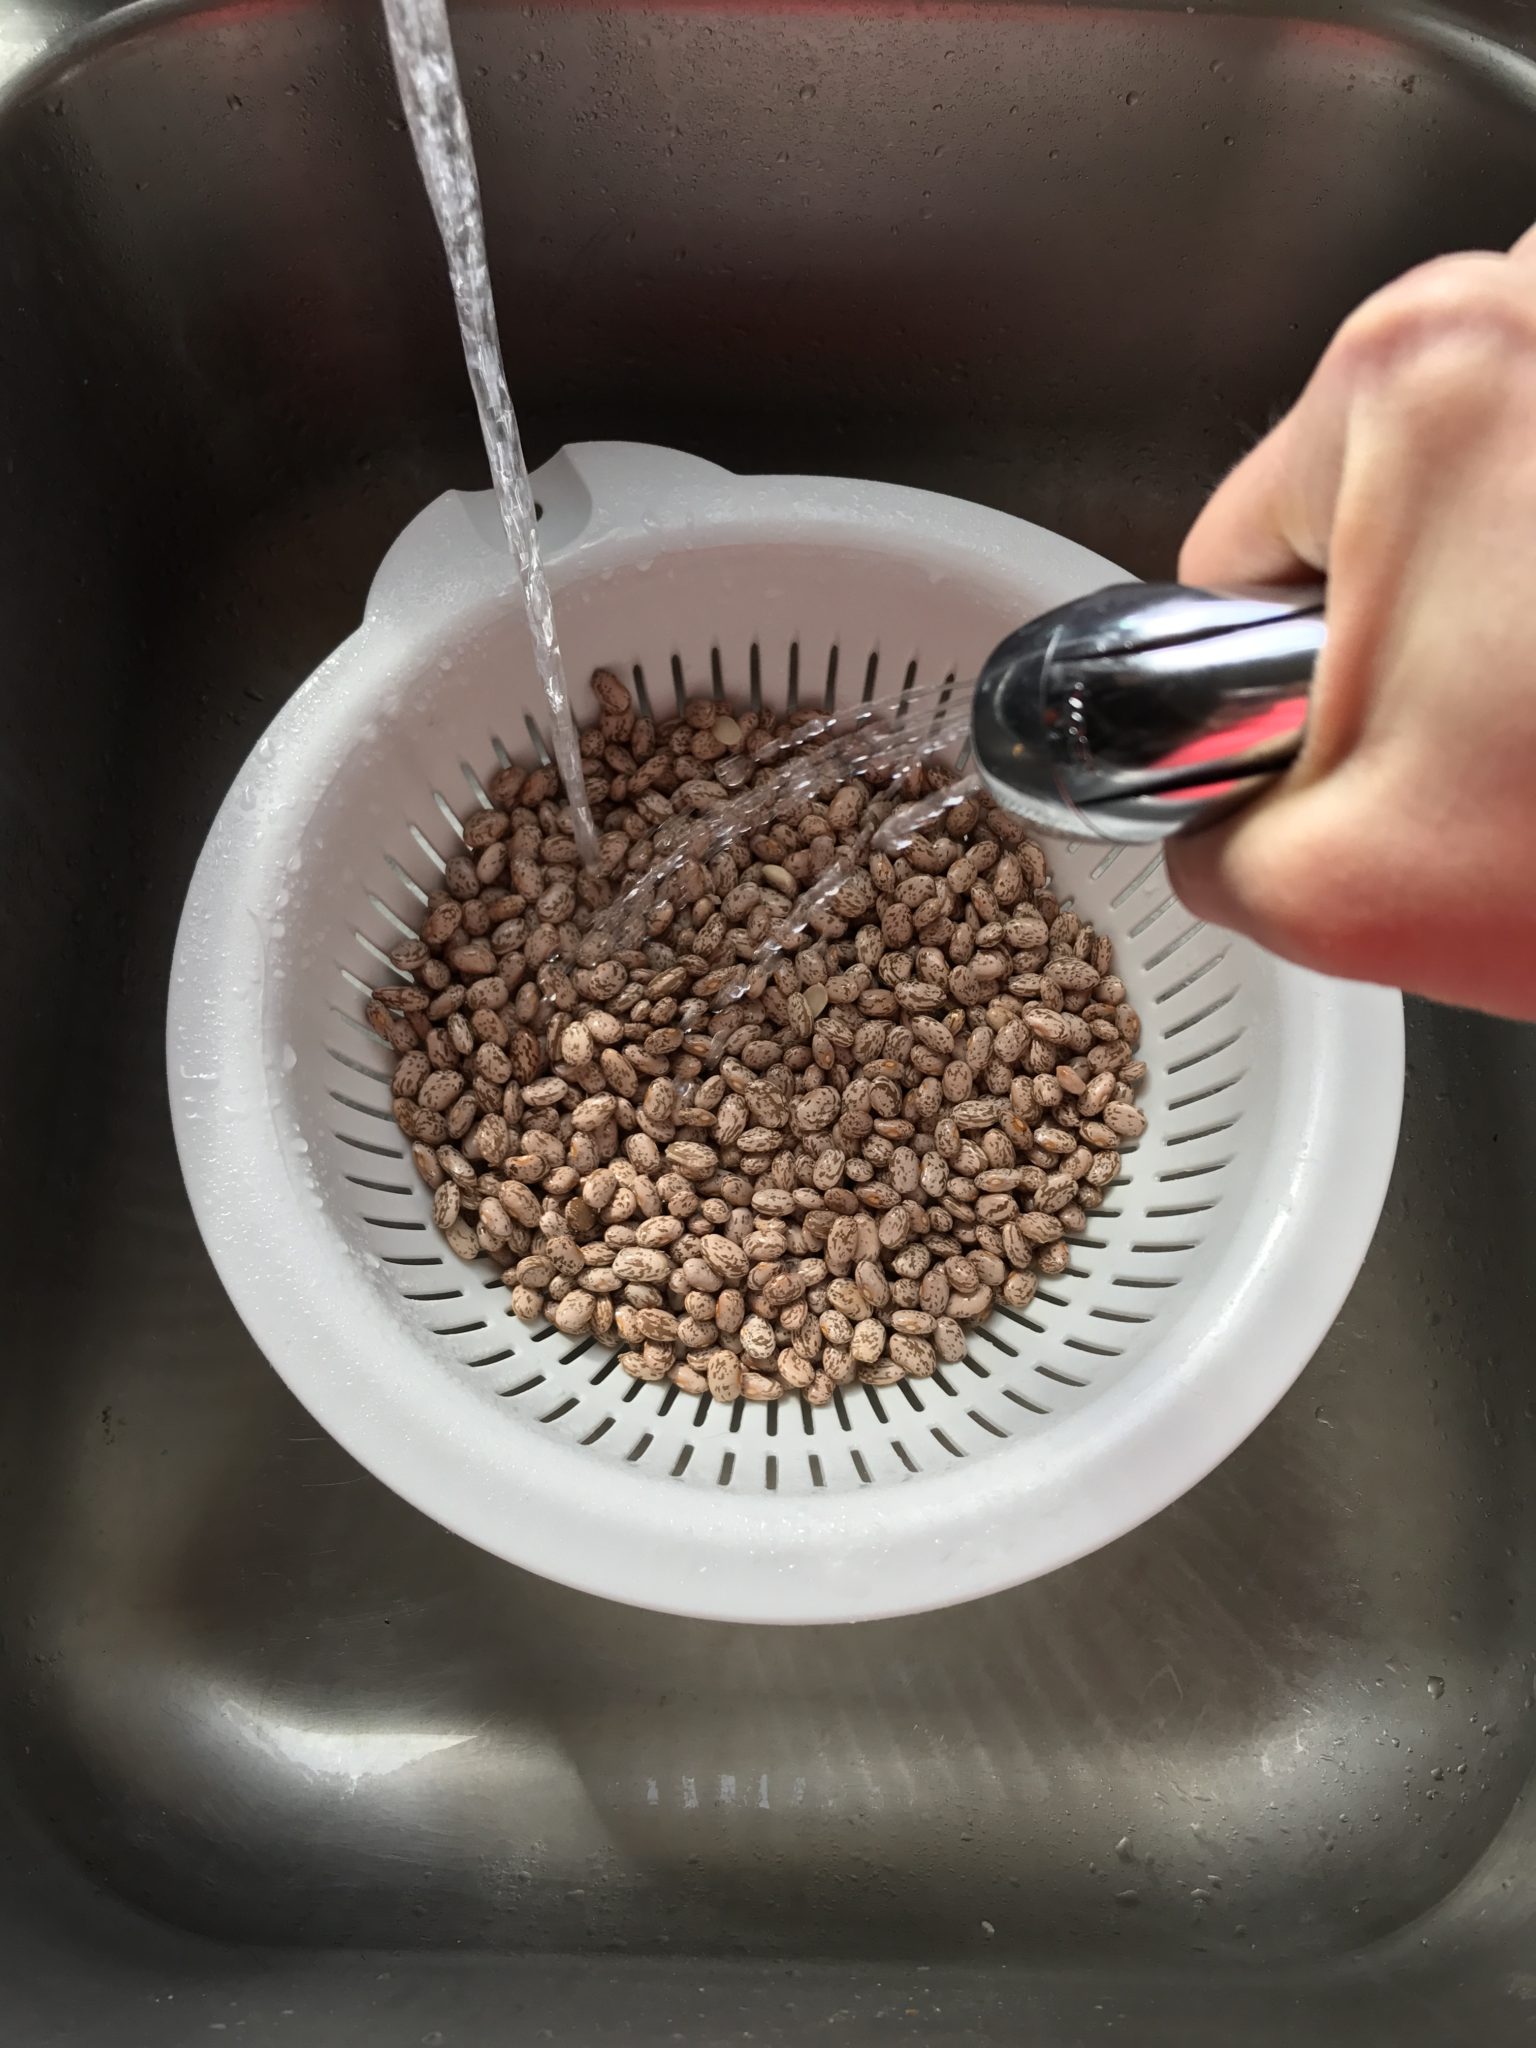 While the beans are draining in the sink. Grab your Instant Pot and a bottle of olive oil. Avocado, or sunflower oil would work for this as well. I like to add a tablespoon or so of olive oil to the bottom of the pot before adding the beans. It helps keep the beans moist (there is that gross word again).
 Next we will add the beans! Add the beans directly to the Instant Pot. The beauty of this recipe is that there is no need to soak the beans! Soaking beans is another way to remove lectins. However, since we are going to heat the beans at high heat, we can skip that step – saving us precious time! Woot woot!
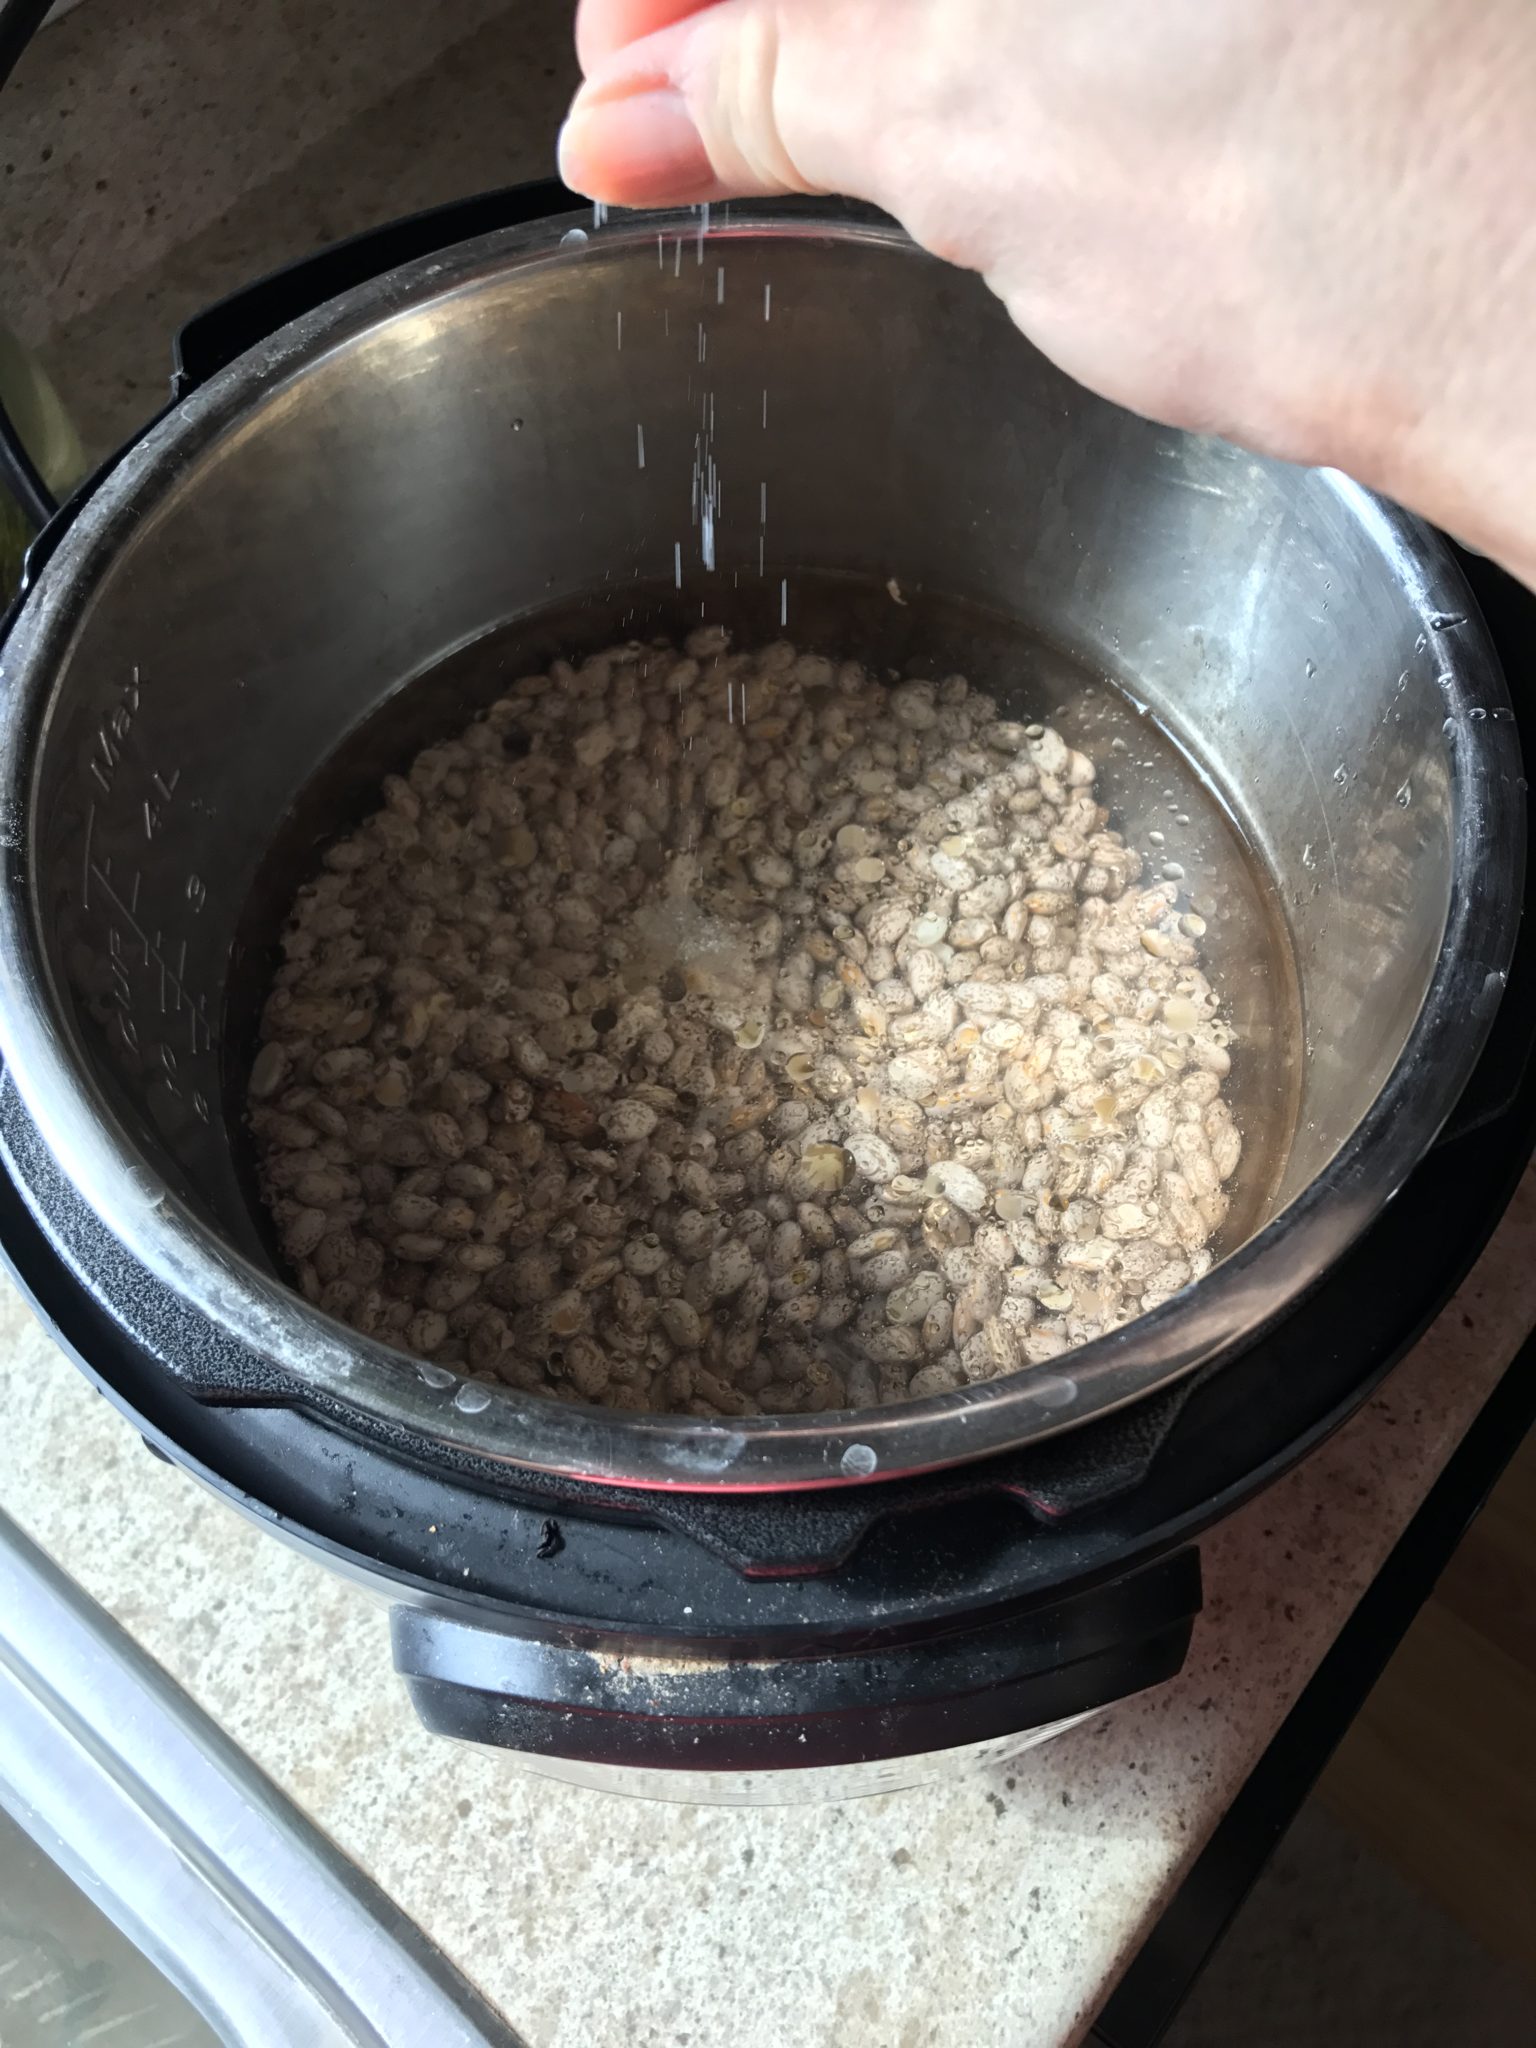
Once you add the beans, add water. You want the water to cover the beans completely plus a few inches. I add a few pinches of salt after this step. Another way to give the beans some flavor. Some folks say to wait until the end to add salt but I have found it works better if added before cooking. I am always happy with how these beans turn out!
Now for the final step!
Fix it and forget it!
- Plug in your Instant Pot
- Check to make sure the switch at the top is set to steaming (NOT VENTING). Remember my promise to not burn your face off? The truth to this lies within this step. We are not going to switch this knob to venting at any time during the process.
- Next, hit manual
- Set the time to 35 minutes
- Make sure the Instant Pot is set to high heat
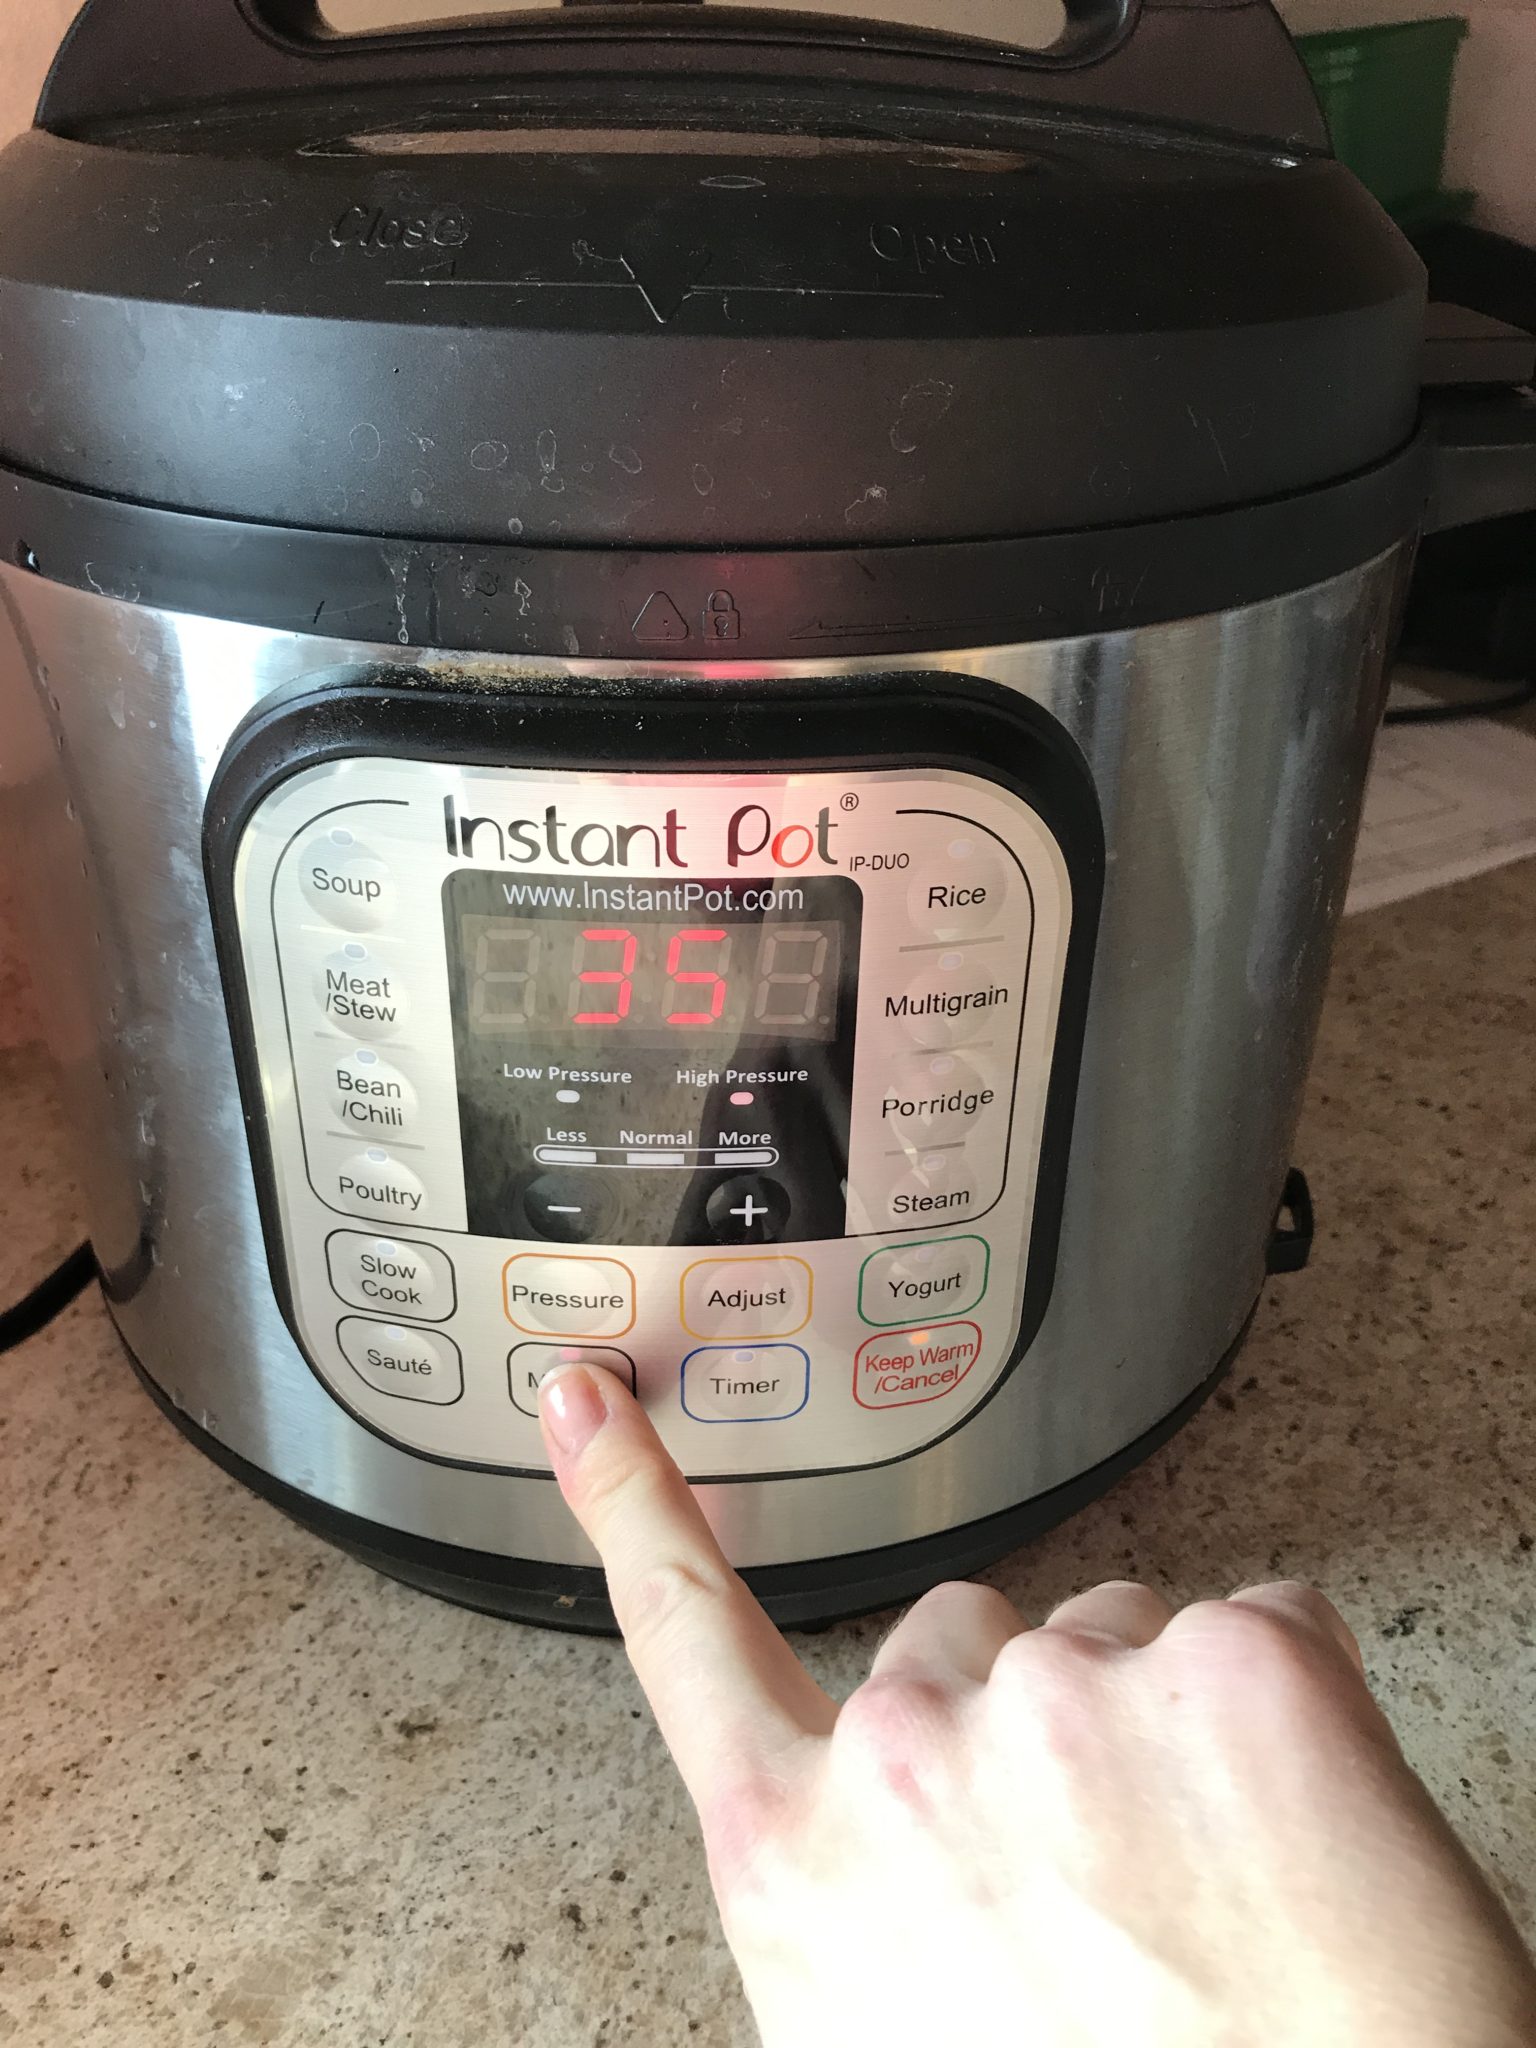
Now you can hang out and read a book!
Just kidding – your a mom – you will probably clean your kitchen, throw a load of laundry in, scrub toilets and sweep the floors.
Or, you could complete one of my workouts – which always take less than 35 minutes. Hint- hint.
Perfect, Lectin free beans
After 35 minutes, when the Instant Pot beeps, do NOT vent (remember that little button you can switch over? – don’t).
Let the beans sit there until they cool, usually about 10 minutes. I do not vent at all. However, if you ARE going to vent, wait at least 5 minutes. In my opinion, adding on the last 5 minutes where the beans are sitting in the pot but the pot is not actually on, adds to the “perfectness” of the beans.
Perfectness. That’s a word right?
 NOW IT’S TIME TO
a. Eat the beans, or
b. Save the beans for later.
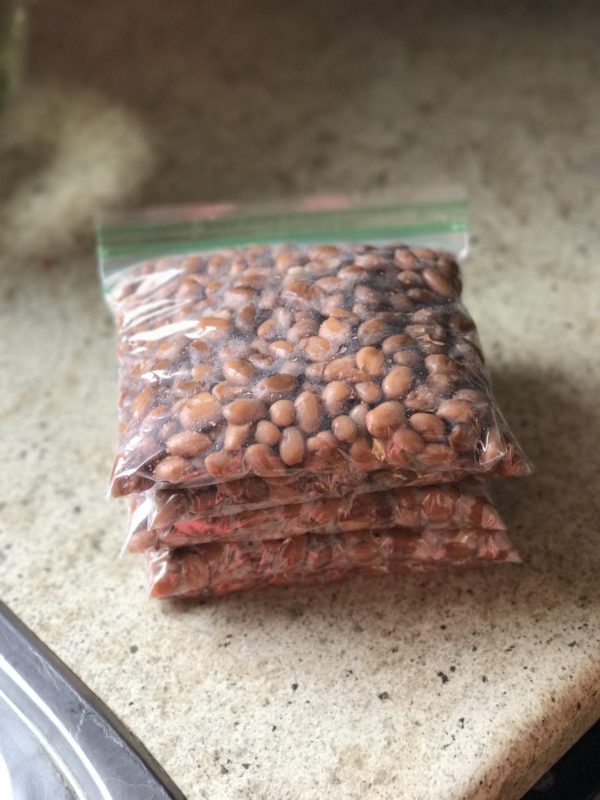
Once the beans are cooled you can store them in sandwich bags. Make sure they are cooled, as you don’t want any chemicals to leach from the plastic onto the beans. Heat releases these chemicals from the plastic so proper cooling is essential.
To store in sandwich bags – scoop 2 cups of beans (unless you have another quantity preference) into each bag. Stack the bags of beans flat on top of each other and lay them in the freezer. After they are frozen you can line them up all in a row neatly organized.
After prepping all the beans I get in one day, I usually end up with around 20 bags of beans!
When you want to make a recipe that calls for beans, such as a quick and easy rice and bean Mexican side dish – all you have to do is grab a bag of beans from the freezer and either thaw them under cool water or break them up into a dish and microwave.

Voila!
Instant Pot Lectin Free Beans
Mommy meal prep at it’s finest.
I hope you enjoy! Please share with another mommy who could use this easy life hack!

- Add olive oil to the Instant Pot
- Add beans to the Instant Pot
- Cover beans completely with water, plus 2-3" over the top
- Add a pinch of salt
- Seal the Instant Pot and turn knob to "steaming"
- Set the Instant Pot to 35 minutes on high pressure
- Let the Instant Pot cool completely
- Uncover beans. Drain any water that is remaining (if any). Make sure you taste the beans to check texture. They should be soft
- If storing for the future - scoop two cups of beans into a each sandwich bag
- Repeat until all the beans are gone
- Label the beans with a permanent marker.
- Store in the freezer stacked on top of each other
- This will store for 4-5 months

